


15 Minimal Simple Vanity Ideas Bedroom With Clean Design

Look, I get it. Your bedroom’s supposed to be this zen sanctuary, but somehow your makeup, skincare, and random bobby pins have staged a hostile takeover of every available surface. You scroll through Pinterest at 2 AM looking at those impossibly clean bedroom vanities and think, “Yeah, right. That’ll last exactly three days in my life.”
But here’s the thing – minimal vanity setups aren’t just for Instagram influencers with zero actual possessions. I’ve actually lived with several of these designs, and some of them legitimately changed how I organize my morning routine. The secret? Choosing a vanity style that matches your actual habits instead of some fantasy version of yourself who color-codes everything.
So grab your coffee (or wine, no judgment), and let’s talk about 15 minimal vanity ideas that’ll work in real bedrooms with real clutter. I promise to keep this practical, honest, and maybe a little sarcastic along the way.
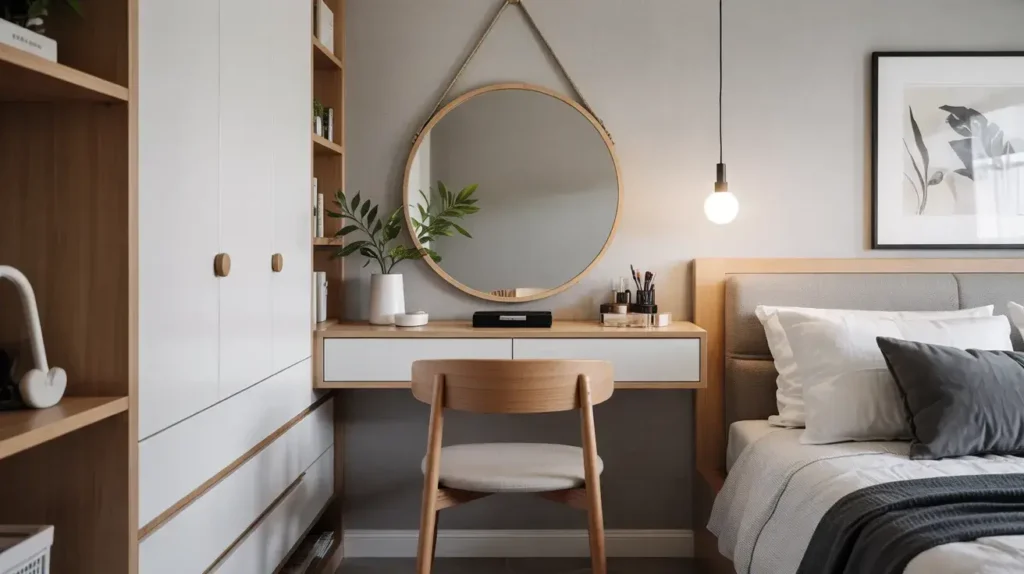
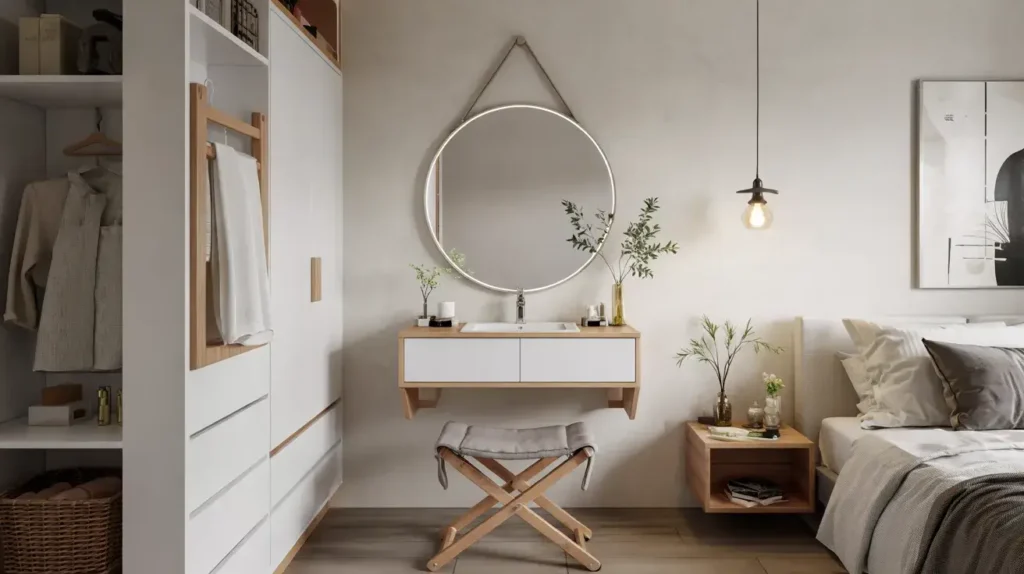
1. Minimal Wall-Mounted Vanity
Wall-mounted vanities are basically the gateway drug to minimalism. You mount a simple surface to your wall, add a mirror, and boom – instant vanity that doesn’t eat up floor space.
Why I love this setup: Your cleaning robot (or you, with a vacuum) can actually reach under it. Revolutionary, right? I installed one in my last apartment, and honestly, the visual breathing room it created made my entire bedroom feel bigger. Plus, you control the exact height, which means no more hunching over like you’re trying to find your contact lens on the floor.
The trick here is mounting it at the right height. I learned this the hard way when I first installed mine too low and spent two weeks applying eyeliner while practically sitting on the floor. Measure while sitting in your actual vanity chair – you want the surface at elbow height when seated.
What Works Best:
- Depth: Keep it around 12-16 inches deep (anything more defeats the minimal purpose)
- Material: Light-colored wood or white lacquer maintains that clean aesthetic
- Storage: Add a small drawer unit if you absolutely need it, but resist the urge to go overboard
FYI, most wall-mounted vanities require proper stud mounting or heavy-duty anchors. Don’t be that person who ends up with their makeup collection scattered across the floor at 3 AM because they used wimpy drywall anchors.
2. Floating Shelf Makeup Vanity
Ever thought about skipping the traditional vanity table altogether? A floating shelf setup gives you just enough surface area for daily essentials without the visual weight of a full piece of furniture.
I actually used this setup in a tiny bedroom where a proper vanity would’ve blocked the closet door. Two 24-inch floating shelves stacked vertically – one for my mirror and current products, one lower for storage baskets. Cost me maybe $40 total, and it looked way more expensive than it was.
The beauty of this approach is the customization. You decide the spacing, the length, and exactly what goes on display. Want three small shelves instead of two larger ones? Go for it. Need one shelf super narrow and one deeper? No problem.
Installation Tips:
- Mount the top shelf at eye level when standing (around 60-65 inches from the floor)
- Keep decorative items to a minimum – maybe one small plant or candle
- Use matching storage containers to keep the clean lines intact
- Bracket choice matters – visible brackets can look industrial-chic, hidden ones look ultra-minimal
One word of warning: floating shelves aren’t great if you lean on surfaces while doing your makeup. I learned this while applying mascara and nearly took the whole thing off the wall. Awkward.
Also Read: 15 Luxury Corner Vanity Ideas Bedroom for Elegant Decor
3. Small Desk Vanity Setup
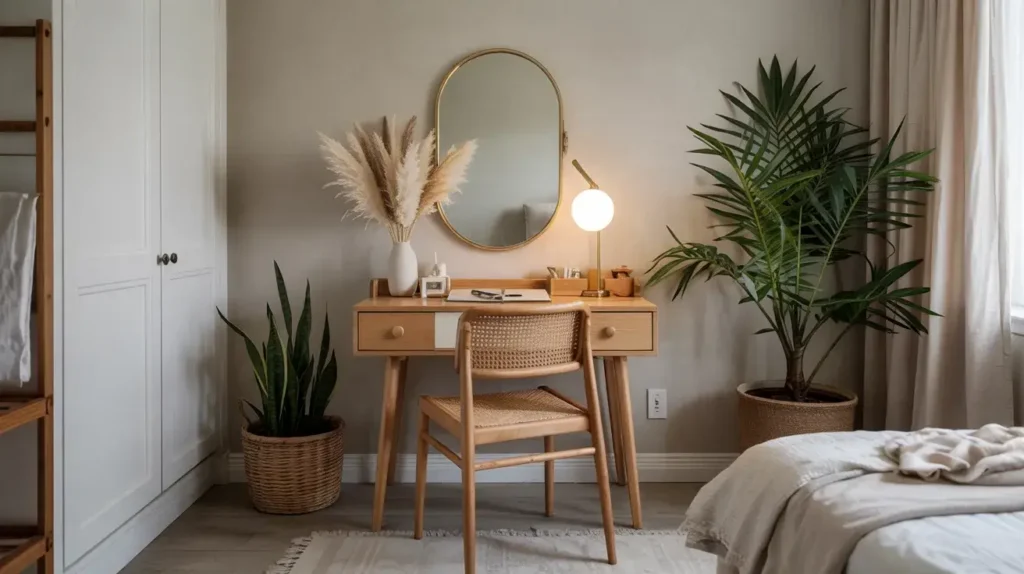
Why buy a vanity when a slim desk does double duty? This was my setup through college, and honestly, it’s still one of my favorite minimal approaches.
You grab a simple desk – nothing fancy, maybe 36-40 inches wide – add a small mirror, and suddenly you’ve got a workspace that transforms into a vanity. During the day, it’s your laptop station. During morning and evening routines, it’s your beauty hub. The key is keeping the surface clear enough to switch between functions easily.
I currently use a white lacquer desk with one slim drawer, and it forces me to stay minimal because I literally need the space for other things. Can’t accumulate 47 lipsticks when you need room for your notebook and coffee.
Making It Work:
- Choose a desk with minimal hardware – simple legs, clean lines, no ornate details
- Add a small organizer tray that you can easily move aside (I use a marble one that holds daily essentials)
- Mount the mirror on the wall instead of placing a bulky standing mirror on the surface
- Keep a small makeup bag for less-used items that you can stash in a drawer or closet
The downside? You need to be disciplined about clearing it off. But IMO, that’s actually a feature, not a bug – it prevents the gradual accumulation of random crap that plagues most vanities.
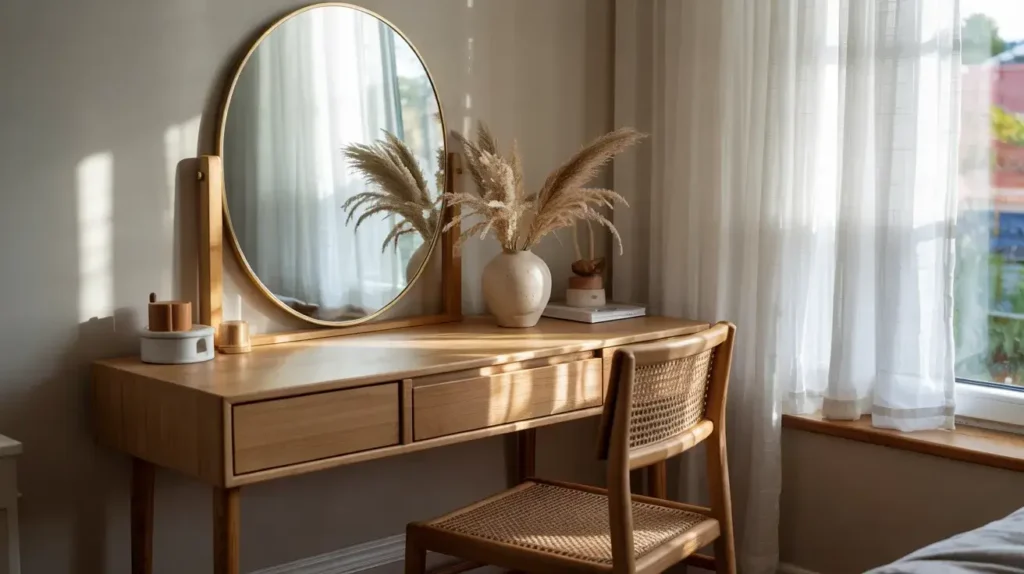
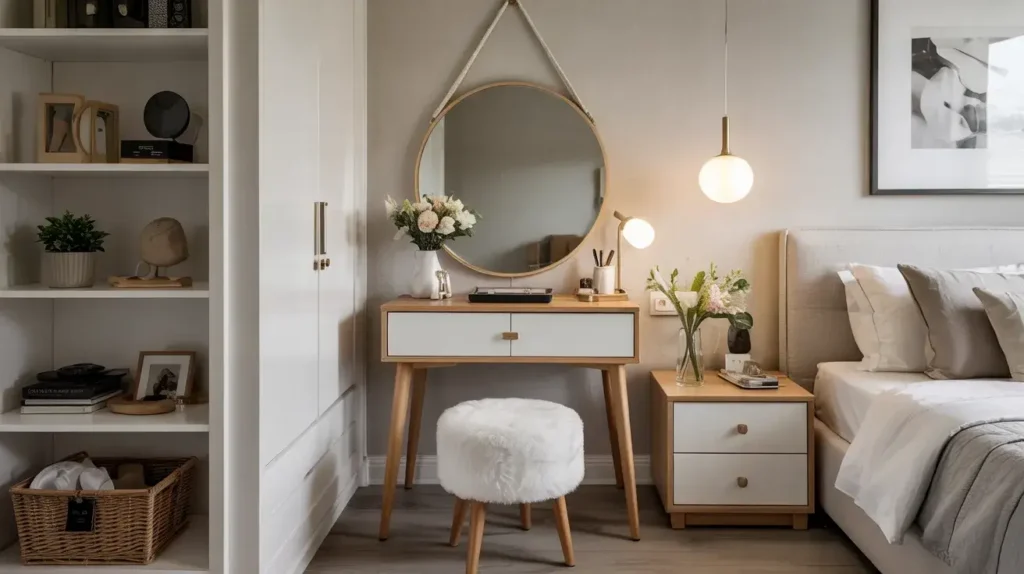
4. Corner Vanity with Round Mirror
Corners are the most underutilized real estate in bedrooms. Seriously, what are you doing with that corner right now? Letting dust bunnies throw parties?
A corner vanity setup maximizes an otherwise dead space while keeping the minimal aesthetic. I’m particularly obsessed with pairing a simple corner table with a round mirror – the circular shape softens the angle and creates this really pleasing visual contrast.
You don’t need a purpose-built corner vanity either. A small round or triangular table tucked into a corner works perfectly. I found a vintage half-moon table at a thrift store for $15, painted it white, and stuck it in my bedroom corner with a round brass mirror above it. Total cost: maybe $60. Total compliments from guests: embarrassingly high for such a simple setup.
Corner Vanity Essentials:
- Size matters: Keep the table diameter under 30 inches or it’ll stick out too far
- Round mirrors feel more minimal than square ones in corners (don’t ask me why, they just do)
- Add a small wall-mounted light on either side if the corner’s dark
- Use the wall space on both sides for small hooks or narrow shelving
The lighting can be tricky in corners, so test your setup before committing. I spent a week doing my makeup in what can only be described as a cave-like situation before I wised up and added a lamp.
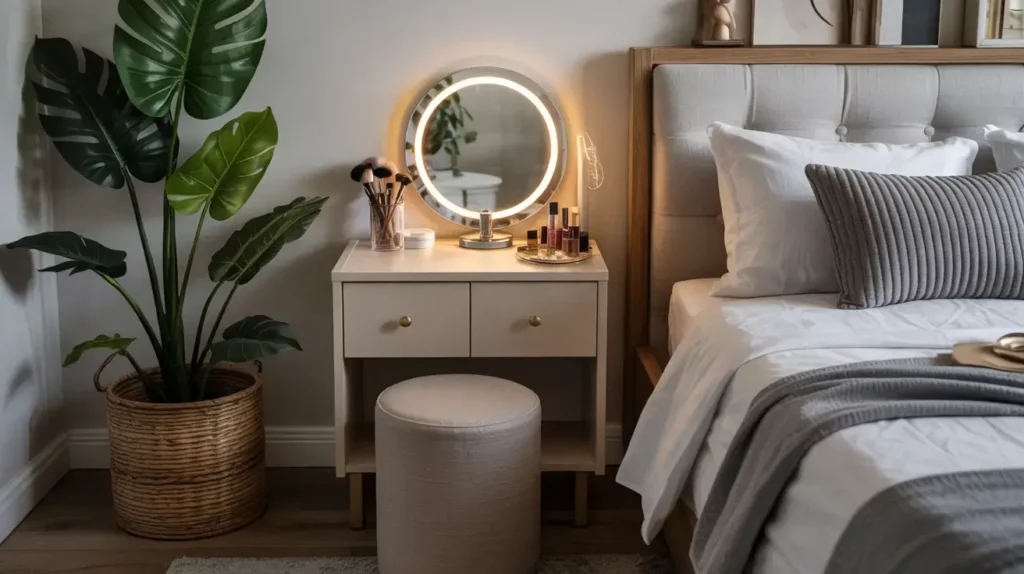
5. Single Drawer Vanity Table
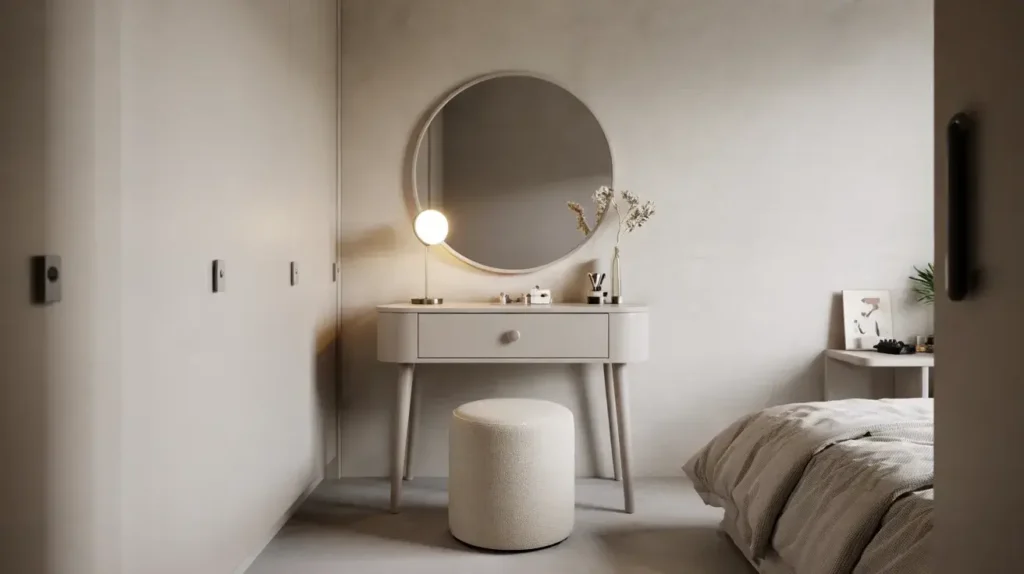
Sometimes you just need one drawer. Not five. Not a drawer with seventeen compartments and a secret false bottom. Just one simple drawer for your everyday essentials.
This is peak minimalism because it forces brutal honesty about what you actually use. I switched to a single-drawer vanity last year, and you know what? I don’t miss the extra storage even a little bit. Turns out I rotated through the same 10-15 products daily while the rest sat untouched in drawer purgatory.
The visual impact is also incredibly clean. A slim table with one centered drawer has this balanced, uncluttered look that makes the whole room feel more intentional. Plus, there’s something psychologically satisfying about having less to organize.
What Goes in That One Drawer:
- Daily makeup essentials only (foundation, mascara, concealer, etc.)
- Your most-used skincare products
- Basic tools (brushes, eyelash curler, tweezers)
- That’s it. Seriously. That’s it.
Everything else? Find another home. Seasonal makeup goes in a bathroom drawer. Backup products live in a closet organizer. The single drawer is sacred space for daily regulars only.
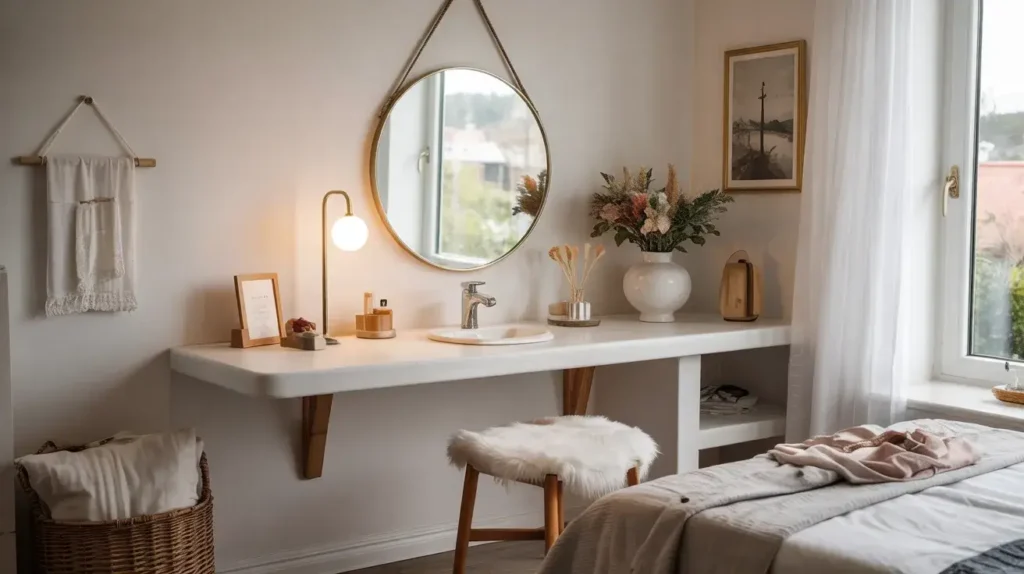
6. Window Side Natural Light Vanity
Okay, let me get real with you for a second. Natural light is absolutely critical for makeup application, and I will die on this hill. I spent years doing my makeup in terrible lighting, then wondering why my foundation looked orange once I stepped outside.
Positioning your vanity near a window solves approximately 87% of makeup-related lighting disasters. You see actual colors, you catch blending issues you’d miss in artificial light, and honestly, starting your day with natural light just hits different.
I rearranged my entire bedroom layout to get my vanity near the window, and it was 100% worth the effort. Every morning feels less chaotic when you’re not squinting at yourself under a sad ceiling light.
Window Vanity Strategy:
- Perpendicular is better than facing the window directly (prevents harsh shadows on your face)
- Sheer curtains give you light control without blocking it entirely
- Keep the vanity setup super simple since the window itself is a visual focal point
- Avoid bulky furniture that’ll block the window or make the space feel cramped
One thing nobody tells you: window-side vanities get dusty faster because of air circulation. Just factor in an extra 30 seconds of wiping down the surface weekly. Small price to pay for perfect lighting 🙂
7. Narrow Console Vanity
Console tables aren’t just for entryways. A narrow console (we’re talking 10-12 inches deep) makes an excellent minimal vanity, especially in tight spaces.
I used this setup in a railroad apartment where a traditional vanity would’ve created a traffic nightmare. The narrow profile meant I could walk past it easily, but it still gave me enough surface for a mirror and my daily routine. Plus, consoles often come with that minimal, leggy aesthetic that keeps sight lines open.
The challenge with narrow consoles is staying disciplined about what you place on them. You’ve got limited real estate, so every item needs to earn its spot. I use a small tray to corral products and leave the rest of the surface clear. Sounds restrictive, but it actually makes getting ready faster because you’re not digging through clutter.
Narrow Console Tips:
- Look for consoles with lower shelves for additional storage without adding visual bulk
- Mount your mirror on the wall to save surface space
- Choose a console with slim legs (chunky legs defeat the minimal purpose)
- Keep only a small catch-all dish and your daily product tray on the surface
The narrow console is probably my favorite recommendation for people who claim they “don’t have space” for a vanity. You’ve got 12 inches of wall space somewhere, I promise.
8. Foldable Wall Vanity
Alright, this one’s for the truly space-challenged or the commitment-phobes among us. A foldable wall vanity mounts to your wall and, wait for it, folds down when not in use.
I’ll be honest – I was skeptical about these until I stayed at a tiny hotel in Copenhagen that had one. Game changer. You fold it down for your routine, fold it up when you’re done, and suddenly that wall space is back. It’s like furniture magic.
The minimal aesthetic works perfectly here because the whole point is disappearing when not in use. Most foldable vanities feature clean lines and simple surfaces. Some even include a mirror on the inside that reveals itself when you open it. Unnecessarily clever? Maybe. Cool as hell? Absolutely.
Foldable Vanity Considerations:
- Stability is crucial – cheap ones wobble, and applying eyeliner on a wobbly surface is a nightmare
- Look for models with built-in organization so you don’t need additional storage
- The folding mechanism should be smooth (test it if possible before buying)
- Wall mounting needs to be rock-solid since you’re putting stress on it every time you fold/unfold
These run more expensive than basic vanities, but if you’re working with seriously limited space, the investment makes sense. Just don’t cheap out and get one that feels like it’ll collapse mid-foundation application.
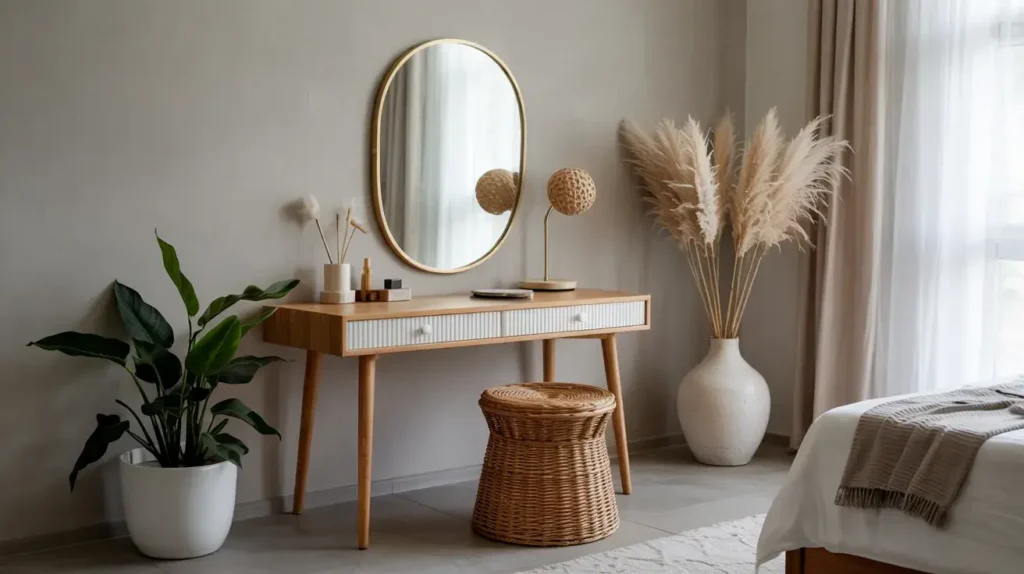
9. Scandinavian Style Vanity
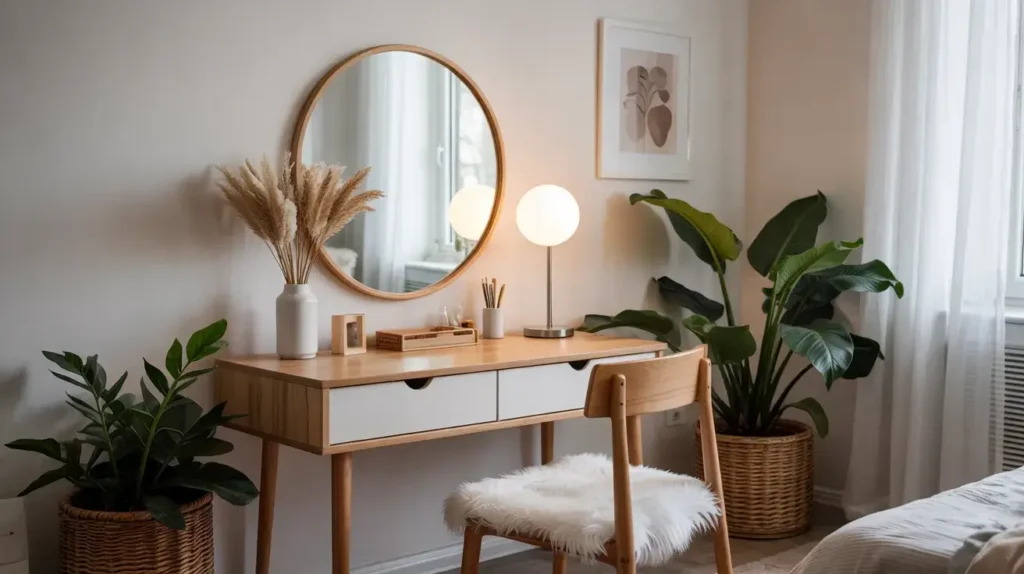
Scandinavian design is basically minimalism’s cooler, more stylish cousin. Think light wood tones, clean lines, functional design, and that effortless “I woke up like this” aesthetic that Scandinavian homes always seem to have.
A Scandi-style vanity usually features light oak or birch wood, tapered legs, maybe one or two drawers, and absolutely zero unnecessary ornamentation. I picked up one secondhand (IKEA, naturally), and it’s been the most versatile piece of furniture I own. Looks expensive, cost basically nothing, works with every design style.
The beauty of Scandinavian design is its flexibility. You can warm it up with textured storage baskets and soft lighting, or keep it ultra-minimal with just the essentials. Either way, it maintains that clean, uncluttered vibe.
Scandi Vanity Elements:
- Light wood tones (white oak, ash, birch – save the dark walnut for other design styles)
- Simple drawer pulls or none at all (push-to-open mechanisms are very Scandi)
- Paired with a simple round or rectangular mirror with a thin wooden frame
- A cozy sheepskin or simple cushion on the chair/stool
Add a small potted plant (I keep a snake plant on mine because I am incapable of killing those), and you’ve got yourself a setup that could appear in a Danish design magazine. Or at least in a Danish design magazine’s “budget-friendly alternatives” section.
Also Read: 15 Sophisticated Vanity Ideas Bedroom Modern Luxury Rooms
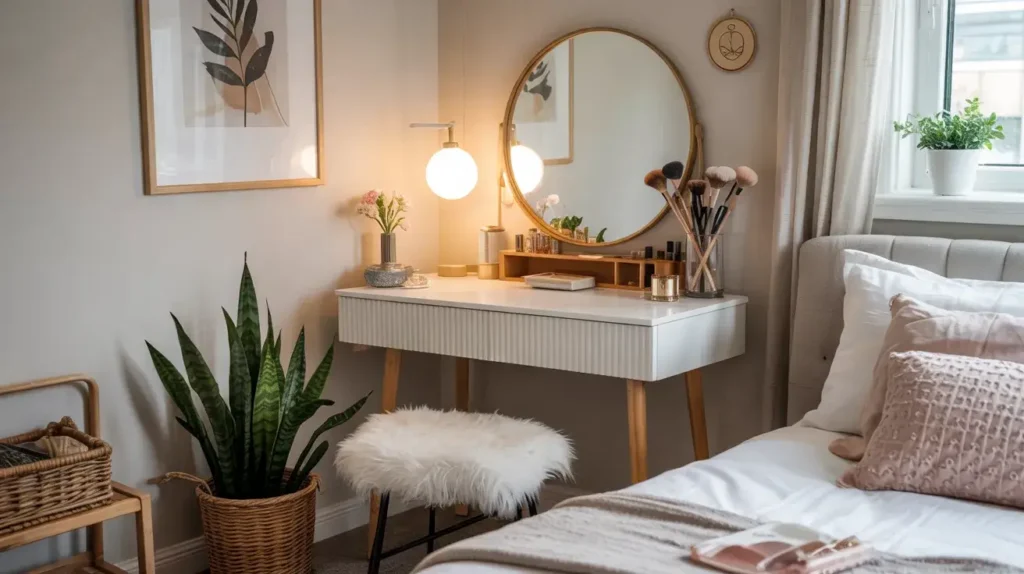
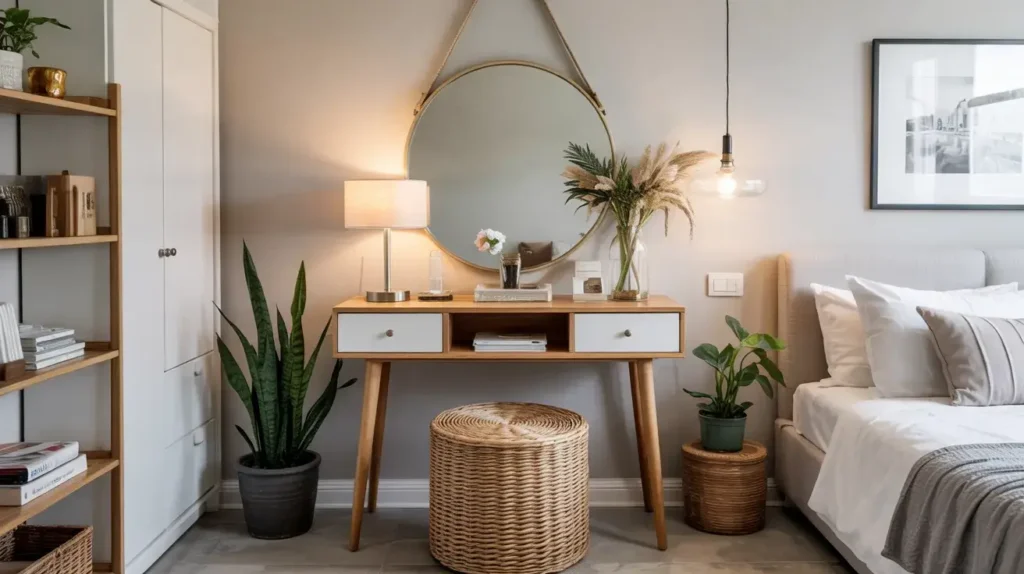
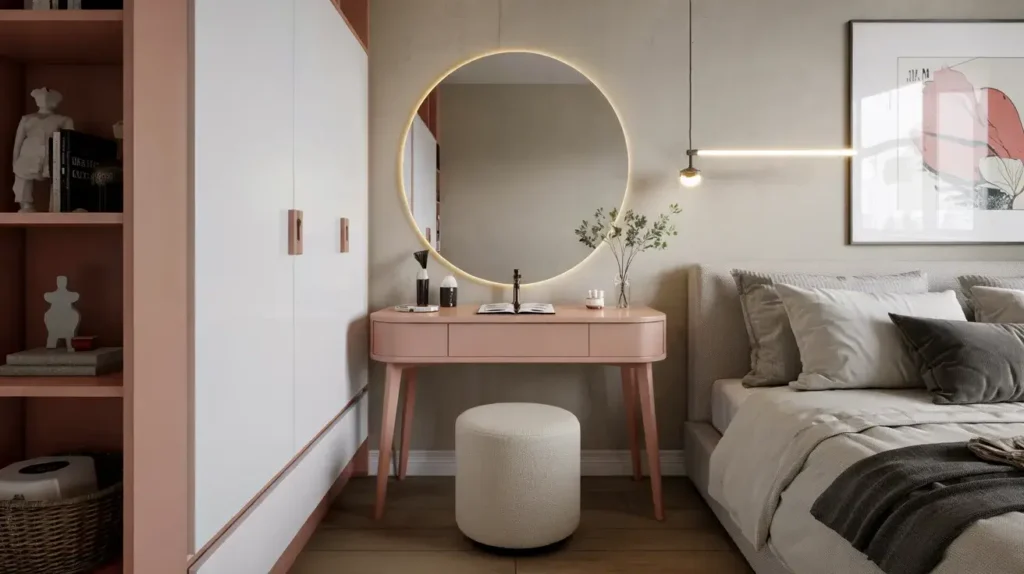
10. Compact Vanity with Stool
Here’s something I learned after years of vanity trial and error: the stool matters almost as much as the vanity itself. A compact vanity paired with a minimal stool creates this complete, cohesive setup that doesn’t overwhelm the space.
The compact vanity I’m talking about measures roughly 30-36 inches wide – enough for your essentials but not so large it dominates the room. When you pair it with a small stool that tucks completely underneath, the whole setup feels intentional and space-efficient.
I currently use a white compact vanity with a simple wooden stool, and the stool sliding under the table when not in use gives me back crucial floor space. Sounds like a small thing, but in a bedroom where every square foot counts, it’s actually huge.
Compact Vanity + Stool Combo:
- The stool should tuck completely under the vanity (measure before buying – I’ve made this mistake)
- Choose a stool height that’s comfortable for extended sitting (nobody wants back pain from doing skincare)
- Backless stools look more minimal than chairs
- Consider a cushioned top for comfort without adding visual bulk
Pro tip: if you can’t find a stool that matches your vanity, just paint a simple wooden stool to coordinate. I spray-painted a $12 IKEA stool matte white, and it looks like it came as a set with my vanity. Total investment: $12 plus a can of spray paint.
11. Simple Vanity with Open Shelving

Open shelving is controversial. Some people love the accessibility and visual lightness. Others see it as an invitation for clutter chaos. I’m somewhere in the middle, but for a minimal bedroom vanity, strategic open shelving actually works.
The key word is “strategic.” I’m talking about one or two open shelves, not an entire bookcase situation. A simple vanity table with a single open shelf underneath gives you visible storage that forces you to keep things organized (because everyone can see it) while maintaining clean lines.
I use the open shelf under my vanity for three matching baskets – one for hair tools, one for backup skincare, one for makeup backups. Everything’s contained but accessible, and the shelf doesn’t feel cluttered because the containers match.
Open Shelving Success:
- Use matching containers or baskets (this cannot be stressed enough)
- Limit yourself to 2-3 containers maximum per shelf
- Choose neutral colors that blend with your bedroom palette
- Keep frequently-used items in the containers – dead storage creates visual clutter even in pretty baskets
The psychological trick here is that open shelving stops you from accumulating random junk. You can’t hide it, so you don’t keep it. At least, that’s the theory. Your mileage may vary depending on your relationship with clutter.
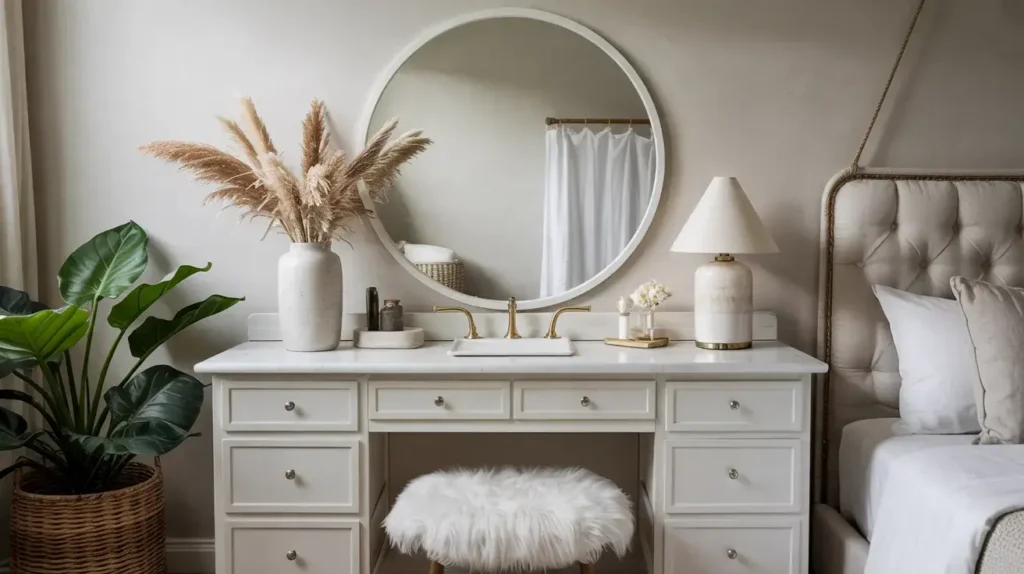
12. White Minimal Vanity Table
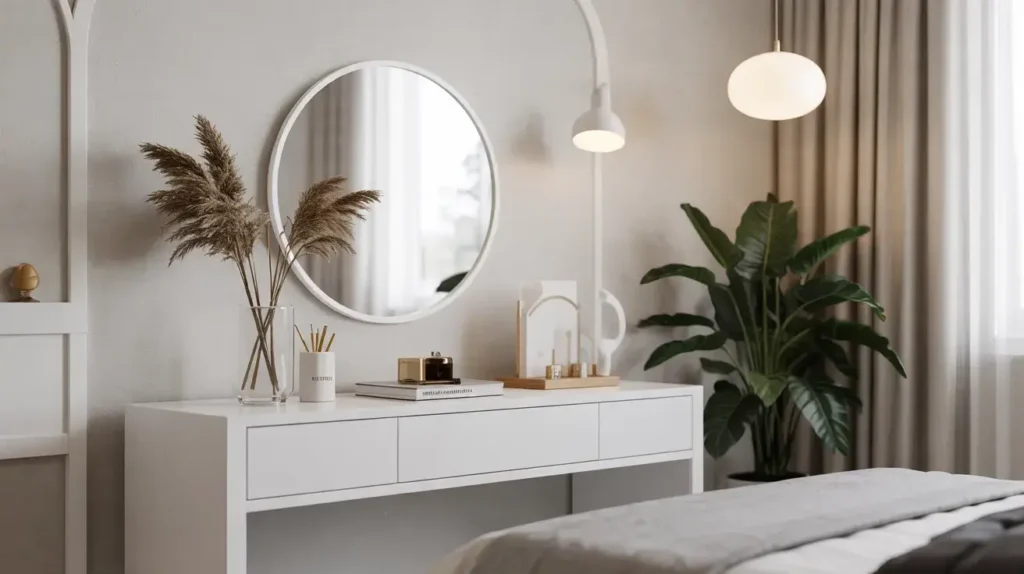
Sometimes you just need to commit to a color, and for minimal design, white is the MVP. A white vanity table reflects light, makes spaces feel larger, and works with literally every color scheme you might change your mind about later.
I’ve owned white vanities, dark wood vanities, and weird experimental-color vanities. The white ones always felt the most minimal and the most forgiving of clutter. Something about the light, clean surface makes even a few items look more organized than they actually are. Is this design manipulation? Absolutely. Does it work? Also absolutely.
The challenge with white is maintenance. White furniture shows dust and requires more frequent cleaning. I keep cleaning wipes in my vanity drawer specifically for quick wipe-downs. Takes 15 seconds after doing my makeup, keeps everything looking fresh.
White Vanity Guidelines:
- Choose the right white (warm whites for cozy vibes, cool whites for ultra-modern feels)
- Matte finishes hide wear better than glossy (learned this the hard way)
- Pair with warm wood tones or metallics to avoid the sterile-hospital look
- Accept that you’ll need to clean it more often than darker furniture
One more thing: white vanities photograph beautifully. Not that you’re planning to become a beauty influencer or anything, but it’s nice to know the option exists 😉
13. Vanity with Table Lamp Lighting
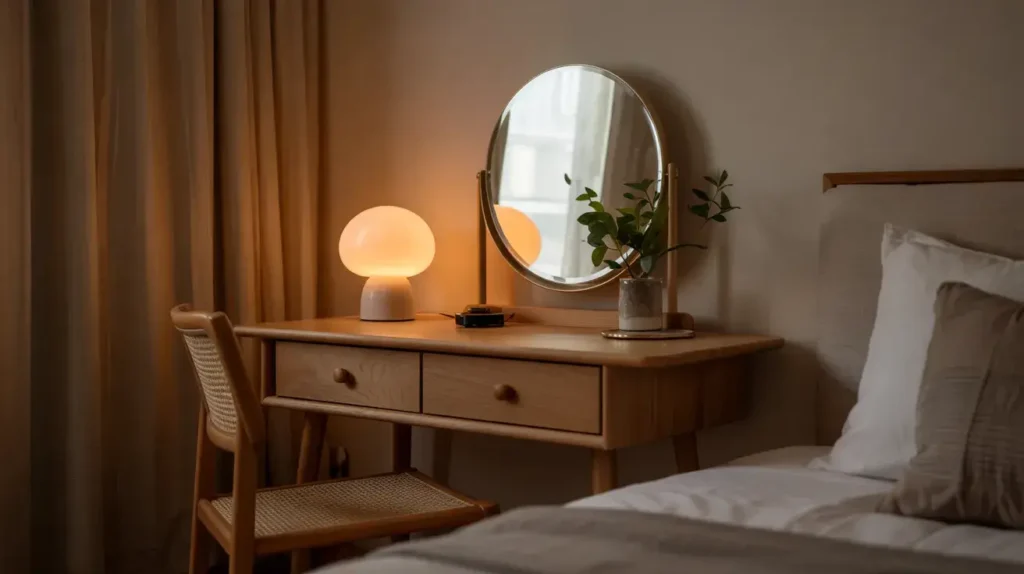
Let’s talk lighting, because terrible lighting has ruined more makeup looks than any other single factor. Overhead lighting creates shadows. Side lighting can be harsh. But a good table lamp on or near your vanity? Chef’s kiss.
I’m specifically talking about those simple, adjustable table lamps with daylight-balanced bulbs. Not the fussy decorator lamps with weird shades that barely emit light. A functional, minimal lamp that you can position exactly where you need it.
My current setup uses a simple white dome lamp with an articulating arm. I can angle it toward my face for makeup application, swing it away when I need general surface lighting, and it looks clean and intentional even when off. Cost me $35, works better than the $300 lighting setup I considered buying.
Lamp Lighting Essentials:
- Daylight-balanced LED bulbs (usually marked as 5000K-6500K)
- Adjustable arm or head so you can direct light where needed
- Simple, minimal lamp design that doesn’t compete visually with the vanity
- Warm light option for evenings (I use a lamp with adjustable color temperature)
The advantage of table lamp lighting over mounted fixtures is flexibility. You can move it, adjust it, replace it easily, and take it with you when you move. Fixed lighting is forever (or at least, forever until you want to deal with electrical work).
14. Slim Profile Bedroom Vanity
Slim profile vanities are all about that sleek, doesn’t-take-up-much-room aesthetic. We’re talking vanities that measure 14-18 inches deep instead of the standard 20-24 inches. Those few inches make a surprising difference in how much floor space you perceive.
I switched to a slim profile vanity when I moved into a smaller bedroom, and suddenly I could walk around my bed without doing a sideways shuffle. The slim depth doesn’t actually compromise functionality much – you’re still getting enough surface for a mirror, your daily products, and maybe a small plant.
The trick is making sure your chair or stool can still fit comfortably. I measured my sitting depth (yes, I literally sat in a chair and measured how much space I took up) before buying a slim vanity. Turns out I needed at least 15 inches of depth for comfortable sitting. Science!
Slim Profile Specs:
- Look for 14-18 inch depth (anything slimmer gets impractical unless you’re doing a floating shelf situation)
- Wall-mounted mirrors save surface depth
- Consider a vanity with a small lip or raised edge to prevent items from rolling off
- Pair with a backless stool for easier tucking-under
These work especially well in narrow bedrooms or when your vanity needs to fit between other furniture pieces. Just measure your space carefully – buying furniture based on vibes alone leads to returns and sadness.
15. Clean Mirror-and-Table Vanity
Let’s end with the absolute simplest setup: a clean table and a mirror. That’s it. No fancy features, no clever storage solutions, just a minimal table and a mirror mounted above or placed on top.
This is the setup I recommend to anyone who’s paralyzed by vanity choices. You literally can’t go wrong. Pick a simple table you like, add a mirror, done. You’re ready to actually use the thing instead of spending six months researching the perfect vanity setup (not that I’ve ever done that…).
I used this exact setup for two years with a basic white table from Target and a round mirror from HomeGoods. Total investment: under $100. Looked just as good as vanities costing 5x more. Sometimes the simple answer is the best answer.
Making Basic Look Intentional:
- Choose a table and mirror that share a design element (both modern, both vintage, both minimal, etc.)
- Keep the table surface as clear as possible – use a small tray for daily essentials
- Add one personal touch (a small vase, a candle, a special object) to avoid looking too sparse
- Quality over trendiness – a well-made simple piece beats a trendy but cheap piece every time
The beauty of the clean mirror-and-table setup is its flexibility. You can change your mind about accessories, storage solutions, or styling without being locked into a specific vanity design. It grows with you instead of becoming dated.
Final Thoughts
Look, I’ve tried probably 90% of these setups over the years, and here’s what I’ve learned: the best minimal vanity is the one you’ll actually keep minimal. Revolutionary concept, right?
You can have the most beautiful floating shelf vanity in the world, but if you pile it with products and random stuff, it’s not minimal anymore. On the flip side, even a basic table can look intentional and clean if you’re disciplined about what you keep on it.
My honest recommendation? Start simple. Pick one of these ideas that genuinely fits your space and habits. Test it out for a month. If it’s not working, adjust. The minimal aesthetic isn’t about suffering through an impractical setup for the sake of looking good on Instagram – it’s about finding what actually makes your daily routine easier and your space more peaceful.
And if all else fails, just remember: you can always blame your setup when your eyeliner goes wonky. “It’s not my hand-eye coordination, it’s the lighting.” Works every time.

